Product Center
-
PE film packing machine
-
Visual Inspection Machine
-
Precision components counting packing machine
-
O-Ring counting and packing machine
-
Weighing packing machine
-
Combined visual granule counting equipment
-
Visual counting packing machine(Integrated)
-
Visual counting packing machine(Seperated)
-
Non standard customized production line
Visual Inspection Machine_DenT
Technical Parameter | 35 | 60 | 90 |
Material | Rubbers, Plastics, PTFE, Hardware | ||
Color | Any colour | ||
Minimum Outside Diameter of Inspected Material (mm) | 5 | 5 | 20 |
Maximum Outside Diameter of Inspected Material (mm) | 35 | 60 | 90 |
Minimum Thickness of Inspected Material (mm) | 1 | 1 | 1 |
Maximum Thickness of Inspected Material (mm) | 9 | 9 | 9 |
Efficiency | Max 36,000pcs/h (Depends on size and material ) | ||
System | Feeding device 300L | ||
Measurement Station | 35 | 60 | 90 |
Camera | Black&White | Black&White | Black&White |
Inspected Range (mm) | Φ54 | Φ71 | Φ102 |
Maximum height Inspected (mm) | 10 | 10 | 10 |
Image Resolution (mm) | 0.001 | 0.001 | 0.001 |
Measure Precision (mm) | +/-0.008 | +/-0.012 | +/-0.012 |
Repeatability (mm) | +/-0.005 | +/-0.008 | +/-0.008 |
Surface Workstation | 35 | 60 | 90 |
Camera | Full color | Full color | Full color |
Quantity of Camera | 4 | 4 | 4 |
Focal length adjustment | Electricity | Electricity | Electricity |
High Measure and Inspected station | 35 | 60 | 90 |
Inspected Range (mm) | 25 | 25 | 25 |
Image Resolution (mm) | 0.001 | 0.001 | 0.001 |
Measure Precision (mm) | ±0.003 | ±0.003 | ±0.003 |
Repeatability (mm) | ±0.005 | ±0.005 | ±0.005 |
Minimum Inspected inside diameter (mm) | 10 | 10 | 10 |
Outside Inspected Station | 35 | 60 | 90 |
Camera | Full Color | Full Color | Full Color |
Single Camera Inspected range(mm) | 29 | 48 | 48 |
Image Resolution (mm/px) | 0.012 | 0.020 | 0.020 |
Minimum Inspected Defective area(mm) | 0.036*0.036 | 0.060*0.060 | 0.060*0.060 |
Inside Inspected Station | 35 | 60 | 90 |
Camera | Full Color | Full Color | Full Color |
Single Camera Inspected range(mm) | 29 | 48 | 58 |
Image Resolution (mm/px) | 0.010 | 0.019 | 0.019 |
Minimum Inspected Defective area(mm) | 0.030*0.030 | 0.030*0.030 | 0.030*0.030 |
Working Principle:
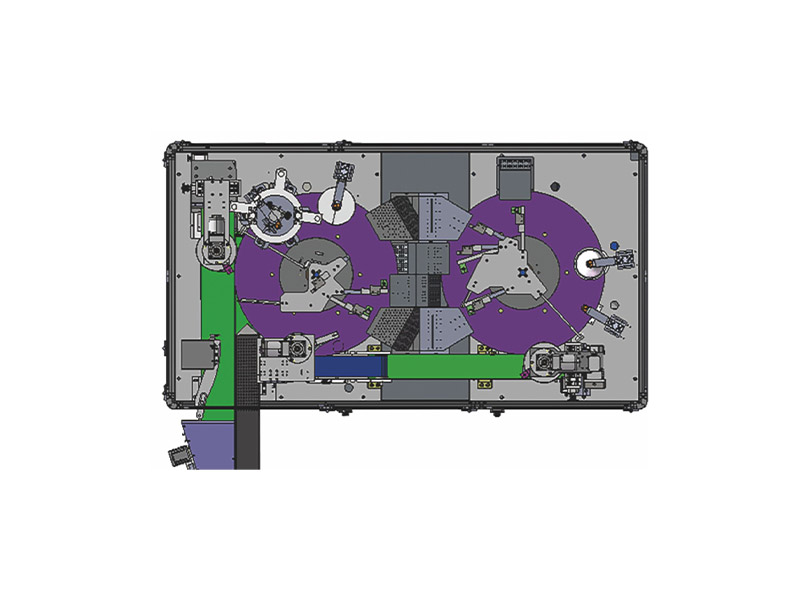
The system consists of two workstations which contains inner side and outer side, each with six 2-megapixel or 5-megapixel color cameras distributed at a 60-degree Angle. Each camera uses a low-distortion lens. In addition, the system also features two sets of color lighting systems distributed above and below. It has an independently digitally adjustable lighting system to optimize image photography. At the same time, the system can also detect the mold line defects caused by mold abnormalities on the basis of detecting the inner and outer defects.
Equipment Advantages:
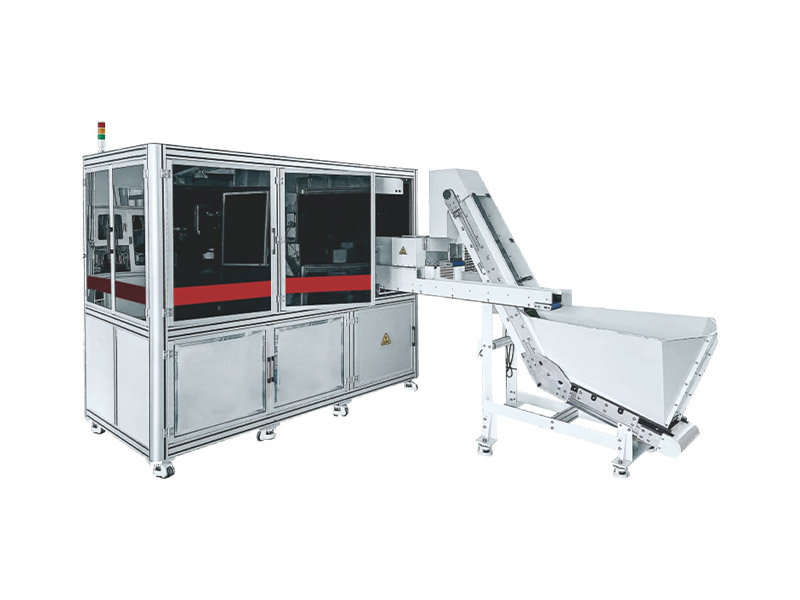
Dent is an optical inspection device for dimensional and surface defected detection of round and shaped parts. It can detect rubber, plastic, PTFT and other materials with high precision within its detection range. These materials are tested for defects at a series of inspection stations using high-precision industrial cameras. The images obtained by the camera are transferred to the computer managed by the real-time system for image processing without data loss and interference: the user can interact with the operating system in a simple and intuitive way through the operating interface. The detection system is stable, reliable, efficient and high-speed.
Product Consultation
If you have any interest in our products, please feel free to leave us your intention information
Contact Information
Friendship Link :
Copyright © 2022 Dongguan Anxiang intelligent packaging equipment Co., Ltd. All Rights Reserved
Technical Support :

 简体中文
简体中文

